
Create a Magical Reading Nook for Kids: A Step-by-Step Guide
Designing a reading nook in your child's room is an invitation to a world of imagination and inspiration. This guide will show you how to create a cozy space where your child can relax and dive into the world of books.

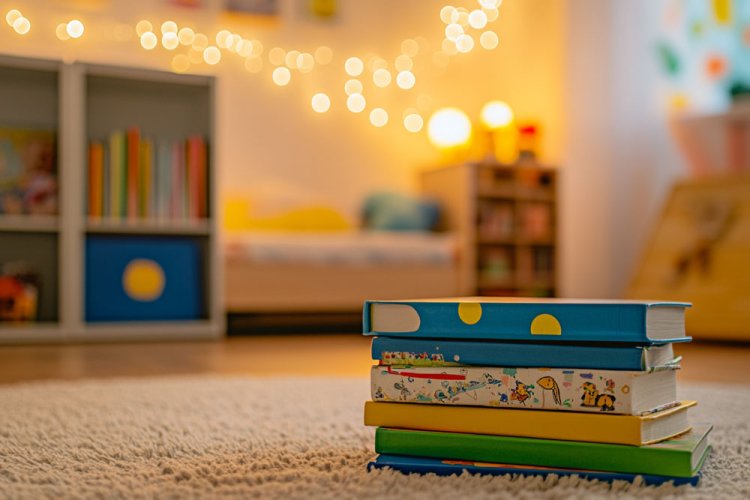
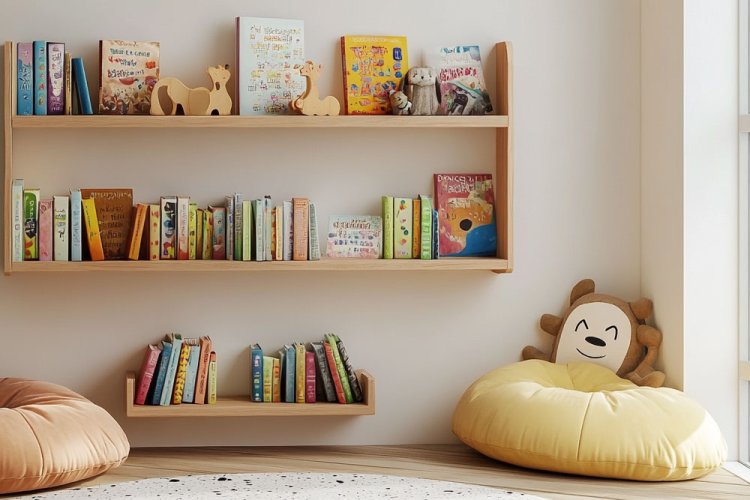
Designing a unique and enchanting reading nook in your child’s room isn't just a decorative touch. It creates a special place where kids can let their imagination soar, deepen their love for books, and connect with a world of words and ideas. Such a nook encourages your child to spend quality time reading while enjoying a sense of calm in a personal space, amidst today's bustling stimuli. You can create and style such a nook in various ways according to your child's personality, room style, and size. We've chosen to create a relatively small nook, considering the standard room sizes in many homes.
What You'll Need
- Quality wall paint in a shade that matches the existing room decor.
- An arched stencil, or a pencil, a ruler, and some patience.
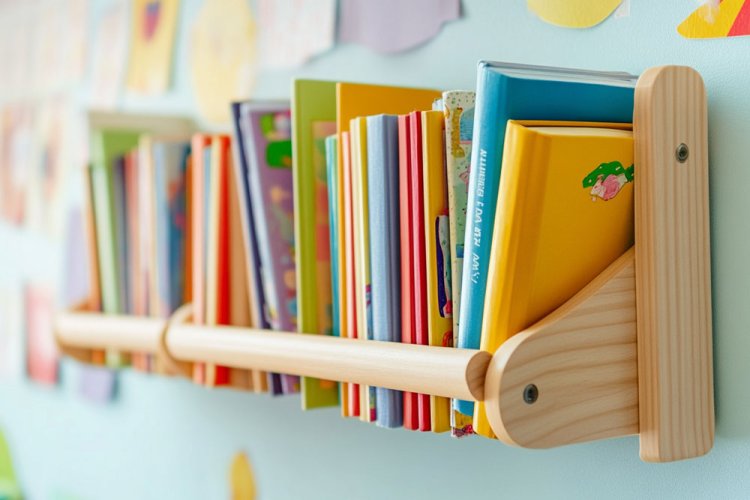
- Three natural wood shelves, preferably with a small guardrail. You can find these at Ikea or various stock stores.
- Small to medium-sized children’s books.
- Two to three soft cushions in colors that complement the room's decor.
- A small, soft rug, preferably round.
- Warm lighting, such as a table lamp or LED garland. These can be purchased inexpensively at various stock stores.

Let's Get Started
Step One:
- Choose an appropriate corner in the room; it could be a small wall, part of a large wall, or a corner between two walls.
- Clear the area of toys and objects that might get messy during painting.
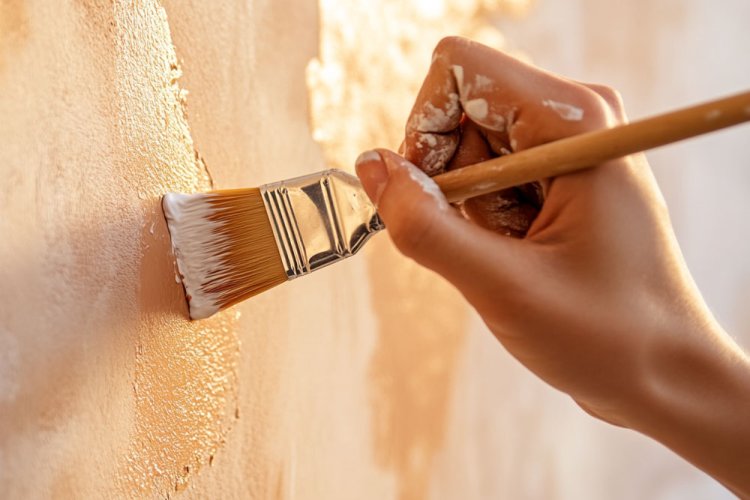
- Decide the width of the arch based on the shelf width. For example, if your shelves are 60 cm wide, add an extra 10 cm on each side of the arch. Using the stencil or a ruler and pencil, draw a large arch shape on the wall. Start by creating the sides of a long rectangle, and finish with a half-circle at the top.
- Gently paint the arch in your chosen color, ensuring a clean and precise finish. Allow it to dry for several hours, or follow the instructions on the paint can. The resulting look is a long rectangle topped with a rounded dome.
Step Two: Installation
- If you decided to paint the shelves, do it at this stage.
- Once the paint has dried, decide on the spacing between the shelves. Precision is crucial here. Set an exact and uniform distance, and use a spirit level to install the shelves straight. Make sure the shelves are at a height accessible to children.
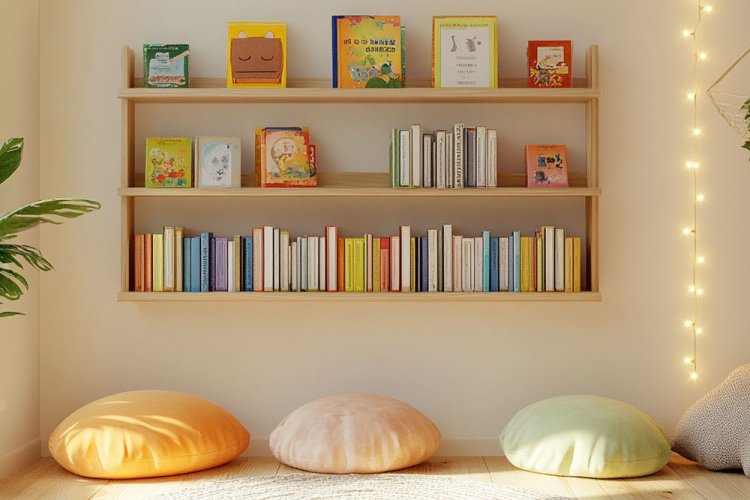
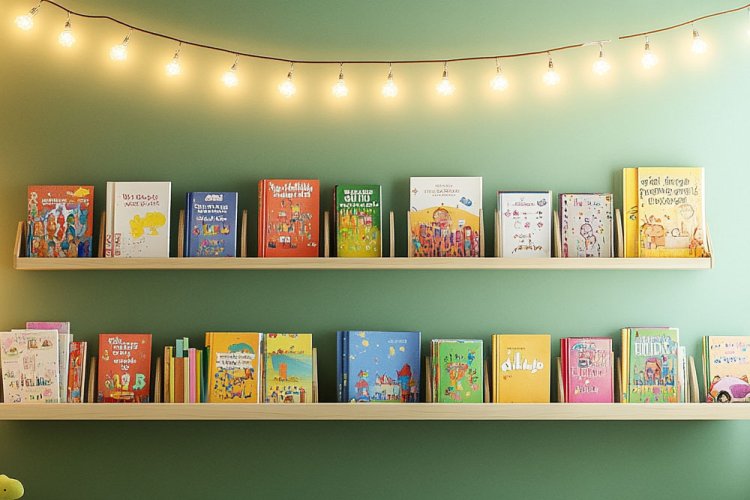
- Arrange the books: Place the books on the shelves facing forward, so their colorful covers are visible. This arrangement will attract children's attention and encourage reading.
Step Three: Creating the Seating Area
- Place the rug and cushions underneath the reading nook.
- Install the small lamp or LED garland to create warm lighting.
- Ensure that the lighting is installed safely, far from the reach of children.
Additional Tips
- Incorporate small pictures or appropriate illustrations, like images of letters or kids reading.
- Maintain a tidy look, but feel free to add small items that suit your child's tastes.
- Use colors and designs that interest them, such as characters from their favorite books.
With a bit of investment and imagination, you can create a styled and inviting reading nook in the children’s room. A magical corner where kids can feel comfortable, relax, and dream. The new reading nook will add beauty and character to the room, becoming a place where your children will grow, discover new worlds, and deepen their love for books.
Did you enjoy this guide to creating a children’s reading nook? Let us know in the comments.
